How to Achieve Flawless Makeup for a Perfect Photoshoot?
Achieving flawless makeup in photography highlights best features, hides flaws, and sets the mood. Unlike everyday makeup, photoshoot makeup is made to look perfect under the camera’s eye, making every detail count for a flawless result. So, how to achieve a flawless makeup look? Let’s find out.
Everyday Makeup vs Photoshoot Makeup
Everyday Makeup: A Natural Enhancement
Everyday makeup aims to present a polished version of oneself, suitable for work, social settings, or casual outings. This makeup style emphasizes subtlety and aims to enhance one’s natural features without appearing overdone. Products used in daily makeup routines are often lightweight, offering comfortable wear throughout the day. The focus is on creating a balanced look that feels authentic and versatile enough to fit various lighting conditions, from the soft light of morning to the artificial lights of offices and homes.
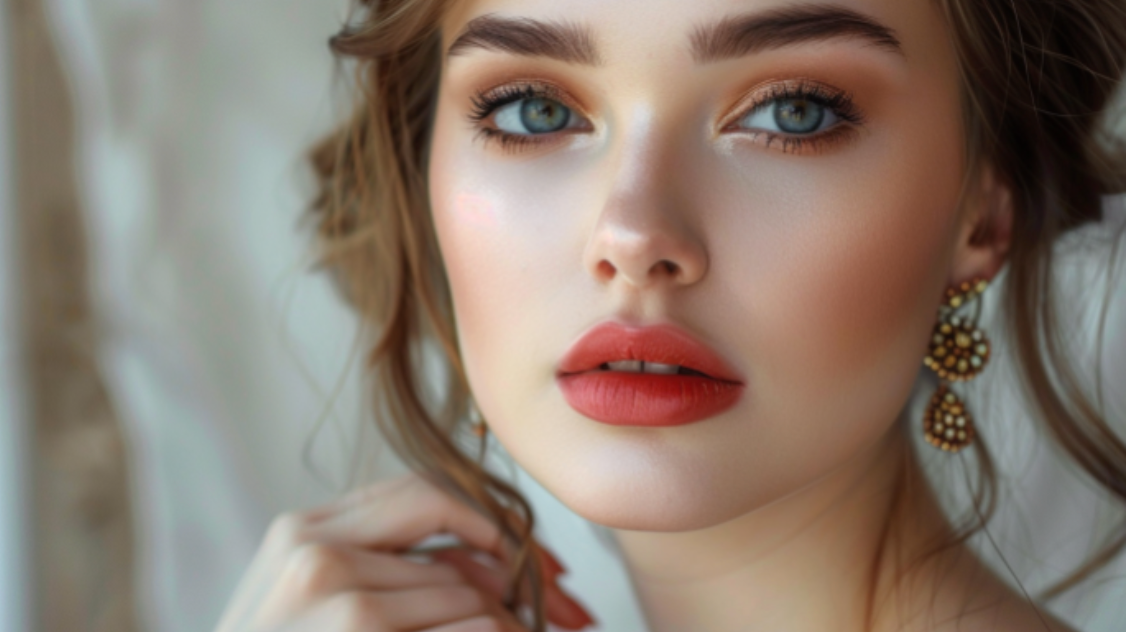
Photoshoot Makeup: Crafted for the Camera
Photoshoot makeup, on the other hand, is designed with the camera in mind. Photography lighting—whether natural or studio—can be much more intense and unforgiving than what is encountered in everyday life. It can highlight imperfections, alter the appearance of colours, and cast unwanted shadows. Photoshoot makeup counters these effects by employing techniques that ensure the subject’s features are well-defined and imperfections are skillfully concealed. The makeup is usually more pigmented, providing coverage and colour intensity that stands out in high-definition photographs. Matte products are often favoured to minimize shine and reflectivity, ensuring the face doesn’t appear oily or washed out under bright lights.
How to Achieve a Flawless Makeup for Photoshoot
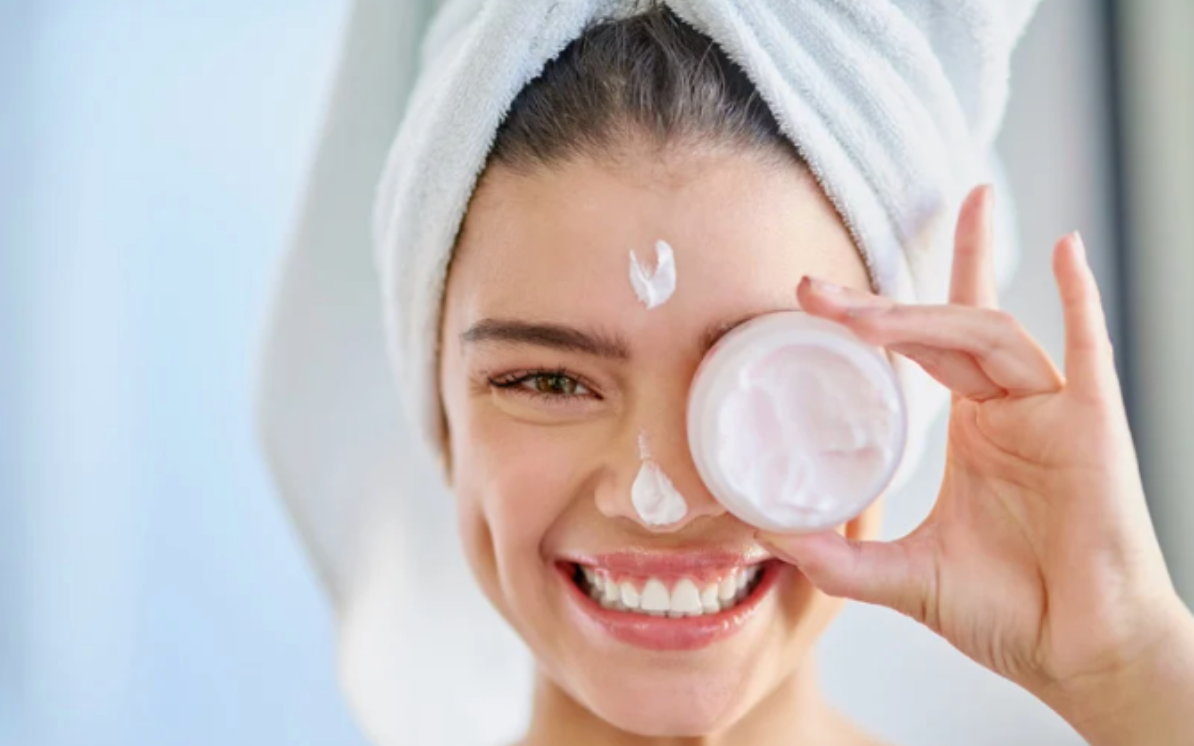
Skincare Routine: The Foundation of Flawless Makeup
A diligent skincare routine is the first step towards ensuring your makeup looks its best. It’s all about creating a smooth, hydrated base that allows products to blend seamlessly.
- Cleansing: A gentle cleanser removes impurities and excess oils from the skin. This step is crucial for preventing breakouts and ensuring your makeup doesn’t slide off during the day. Choose a cleanser appropriate for your skin type to maintain balance and avoid stripping the skin of its natural oils.
- Moisturizing: Follow up with a hydrating moisturizer that suits your skin type. Hydration is key to preventing flakiness and cakeiness, as makeup adheres better to moisturized skin. For oily skin, opt for a lightweight, oil-free moisturizer to keep the skin hydrated without adding extra shine.
- Exfoliating: Exfoliating the skin a day before the photoshoot helps to remove dead skin cells, providing a smoother surface for makeup application. Be careful not to over-exfoliate, which can lead to irritation and redness. Choose a gentle exfoliator and focus on areas with more texture, such as the nose, chin, and forehead.
Priming Your Skin: Creating the Perfect Canvas
Priming your skin is like prepping a canvas before painting—it ensures that your makeup goes smoother and lasts longer.
- Choosing the Right Primer: The key to selecting the suitable primer is knowing your skin type and the primary concerns you want to address. For oily skin, look for a mattifying primer that helps control shine throughout the day. A hydrating primer can provide an extra moisture boost if you have dry skin. For textured skin, consider a silicone-based primer that can smooth out pores and fine lines.
- Application Tips: Apply primer after your skincare routine but before foundation and concealer. Use a pea-sized amount and focus on areas that need attention, such as the T-zone, cheeks, and around the nose. Allow the primer to settle briefly before moving on to the foundation.
Foundation and Concealer Techniques
Achieving a flawless makeup look for a photoshoot starts with the perfect base. Foundation and concealer are pivotal in creating a canvas that looks impeccable under the scrutinizing lens of the camera. Here’s how to master these fundamentals.
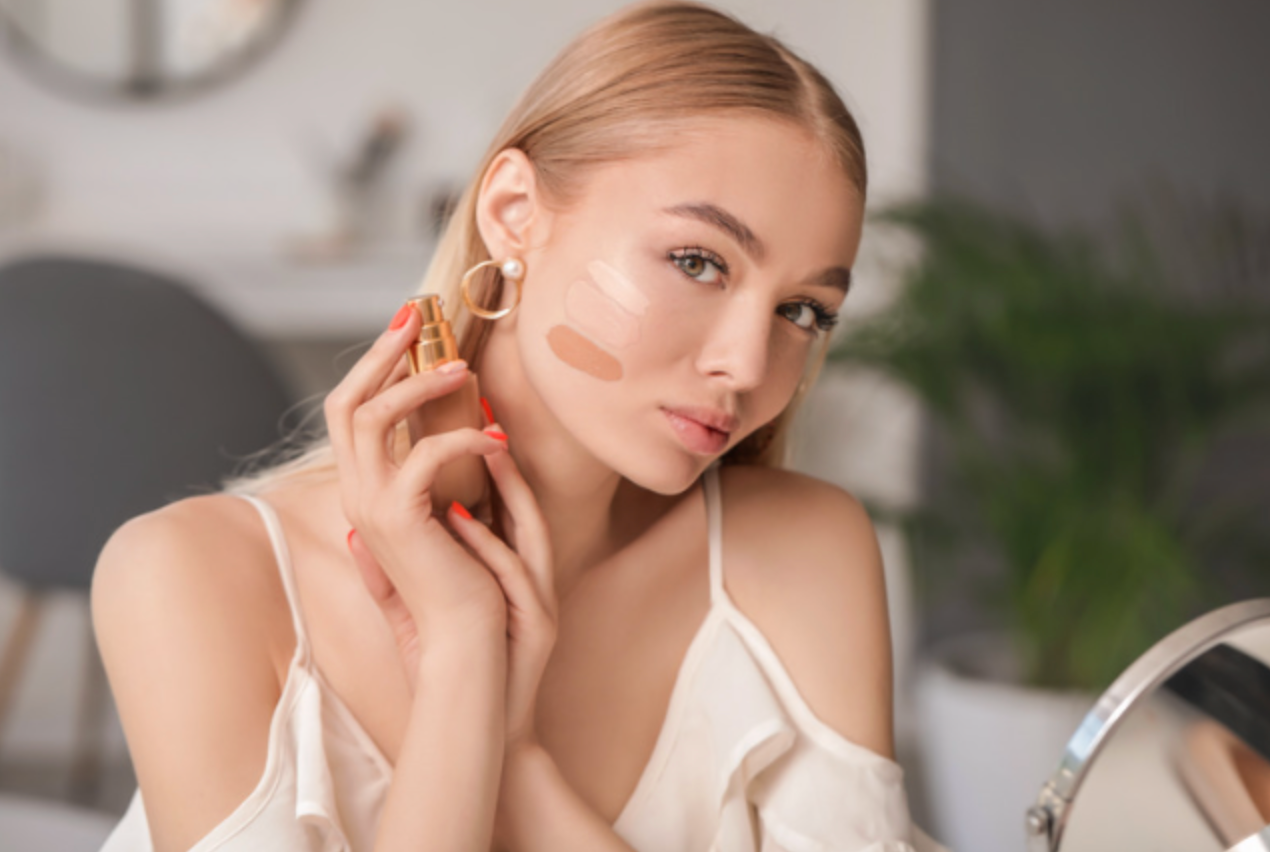
Selecting the Right Foundation
The foundation you choose sets the stage for your entire makeup look, making selecting the right shade and formula crucial.
- Shade Matching: Finding your perfect foundation shade is paramount. Test potential shades under natural light by applying them to your jawline. The right shade will disappear into your skin. Remember, your face and neck should match to avoid a visible line of demarcation.
- Understanding Undertones: Your skin’s undertone—cool, warm, or neutral—plays a significant role in selecting the right foundation colour. Warm undertones should look for foundations with a yellow or golden base, cool undertones should opt for pink or red bases, and neutral undertones can look for a balance between the two.
- Choosing the Formula: The choice between liquid, cream, and powder foundations depends on your skin type and the desired finish. Liquid foundations are versatile and can offer everything from sheer to full coverage, making them a popular choice for photoshoots due to their seamless finish.
Application Techniques for a Flawless Finish
The tools you use for foundation application can significantly impact the final look.
- Brushes: A foundation brush can offer a more controlled and polished finish. Flat brushes are great for full coverage, while stippling brushes work well for a lighter, airbrushed effect.
- Sponges: Beauty sponges are perfect for achieving a dewy, natural finish. They’re ideal for blending liquid foundations and concealer seamlessly into the skin. Dampen the sponge for a sheerer application.
- Fingers: Your fingers can be a great tool, especially for warming up cream foundations or areas requiring light coverage. The warmth of your hands helps melt the product into the skin for a natural finish.
Concealing Blemishes and Under-Eye Circles
Concealer is your ally in camouflaging imperfections and brightening the under-eye area.
- Colour Correction: Before applying concealer, consider using a colour corrector to neutralize discolourations (like dark circles or redness). Peach or orange tones work well for under-eye circles, while green neutralizes redness.
- Application: For under-eye areas, use a concealer that is one shade lighter than your skin tone to brighten. Apply in a triangular shape and blend outwards for the most natural look. For blemishes, use a concealer that exactly matches your skin tone. Apply with a small brush and gently tap your finger to blend without wiping away the product.
- Setting: To ensure longevity, especially under intense photoshoot conditions, set your concealer with a light dusting of translucent powder. This prevents creasing and keeps the concealer in place throughout the day.
Eye Makeup for the Camera
Eyeshadow Choices
When selecting eyeshadows for a photo shoot, the goal is to enhance your eye colour and complement the overall theme of the shoot. Matte shadows are perfect for adding depth to the eye crease and for more sophisticated looks, as they absorb light and reduce glare. Shimmer or metallic shadows can be applied to the centre of the lid or the inner corners to brighten the eyes and add a touch of glamour. Always consider the lighting of the photoshoot; under bright lights, colours may appear washed out, so opt for slightly more saturated hues to ensure your eyes pop.
Eyeliner and Mascara Tips
Eyeliner and mascara are essential for defining the eyes and making them stand out in photographs. Opt for waterproof formulations to prevent smudging under the hot lights or in case of any tears. When applying eyeliner, tailor your technique to flatter your eye shape—for example, a winged liner can elongate round eyes, while a tight line at the base of the lashes suits almond-shaped eyes. Mascara should be applied from the base to the tips of lashes with a zigzag motion to ensure every lash is coated, adding volume and length.
Contouring and Highlighting
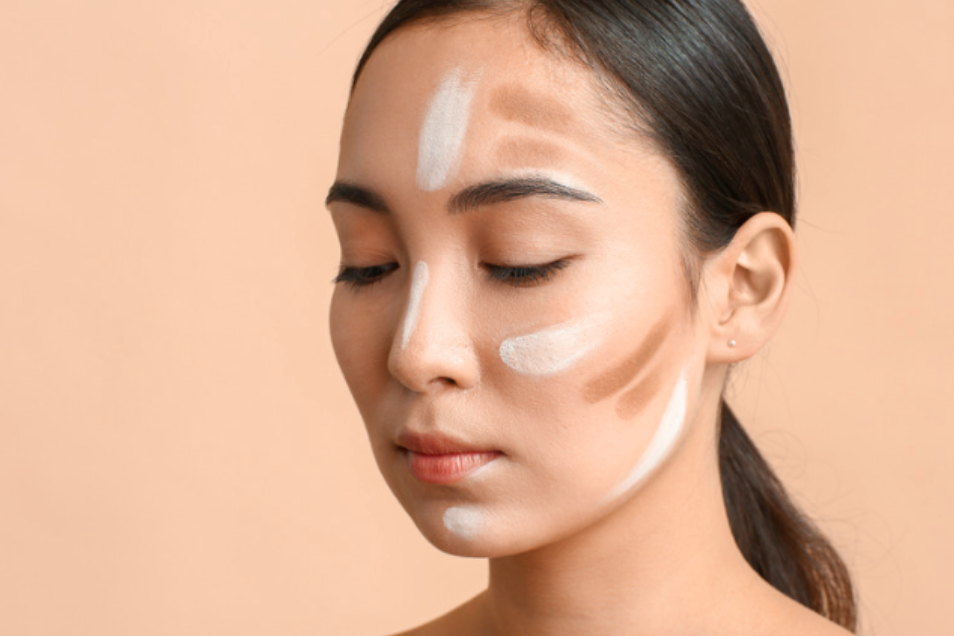
Sculpting the Face
Contouring for photos should be more defined than everyday makeup to ensure features are pronounced under harsh lighting. Use a matte bronzer or contour powder a few shades darker than your skin tone to shade areas you want to recede, such as under the cheekbones, along the jawline, and the sides of the nose. Blend well to avoid harsh lines, ensuring a natural shadow effect that enhances your facial structure.
Highlighting the Right Areas
Highlighting brings forward your best features. Apply a luminous highlighter to the tops of your cheekbones, the bridge of the nose, the brow bones, and the cupid’s bow. This will attract light to these areas, creating a radiant and lifted appearance. Be mindful of textures—powder highlights are great for oily skin, while creams or liquids provide a dewy glow for dry skin.
Lips and Cheeks
Choosing Colors for Lips and Cheeks
The harmony between your lip and cheek colour can tie your makeup look together. Choose shades that complement each other and match the theme of the photoshoot. For a cohesive look, pick a blush that mirrors the undertones of your lipstick. Use a lip liner to define your lips and prevent colour from bleeding, then fill in with lipstick, layering for intensity and durability.
Application Tips for Longevity
To ensure your lip colour lasts, apply, blot with a tissue, and then apply a light dusting of translucent powder before adding a final layer of lipstick. For cheeks, applying a cream blush as a base with a powder blush on top can lock in colour for longer wear.
Setting Your Makeup
A good setting spray or powder is crucial to keep everything in place, especially under the intense conditions of a photoshoot. Choose a setting powder that is finely milled to avoid a cakey appearance and apply lightly to areas prone to oiliness or makeup breakdown. Finish with a setting spray that suits your skin type—matte finishes for oily skin and dewy finishes for dry skin—to lock in your look and prevent makeup from shifting.
Additional Tips for Photoshoot Makeup

Understanding Lighting
Lighting can significantly impact how your makeup appears in photos. Natural light tends to be more forgiving and accurate to colour, while artificial lighting can create shadows and affect colour perception. Test your makeup under illumination similar to the photo shoot, adjusting the intensity of colours and contours to suit.
Last-Minute Touch-Ups
Prepare a small touch-up kit with essentials like blotting paper, powder, lipstick, and concealer. Quick checks and minor adjustments under the photoshoot lighting can make a significant difference in maintaining your flawless appearance throughout the session.
Choose Tina Kristen Weddings for Hair and Makeup
For those special moments, particularly on a day as significant as your wedding, entrusting this task to professionals can make all the difference. Tina Kristen Weddings specializes in creating bespoke bridal makeup looks that promise to highlight your natural beauty and ensure you look radiant on your big day. Reach out to us today.
FAQs
Q: How Can I Make My Makeup Last All Day During a Photoshoot?
Use long-wearing, waterproof products, and don’t forget to prime your skin and set your makeup with a setting spray or powder.
Q: Can I Use My Everyday Makeup for a Photoshoot?
While you can use some everyday products, photoshoot makeup often requires products with higher pigmentation and longevity to stand out on camera.
Q: How Do I Choose the Right Makeup Colors for a Photoshoot?
Consider the lighting, your outfit, and the theme of the shoot. Opt for colours that enhance your features and fit the shoot’s mood.
Q: How Can I Prevent My Makeup From Looking Cakey or Overdone in Photos?
Use lightweight products and apply them in thin layers, blending thoroughly. Always check your makeup under the shoot’s lighting.
Q: Tips for Quick Makeup Changes During the Photoshoot?
Plan your looks and prepare a kit with essentials for quick changes. Multi-use products can be a lifesaver for changing looks efficiently.